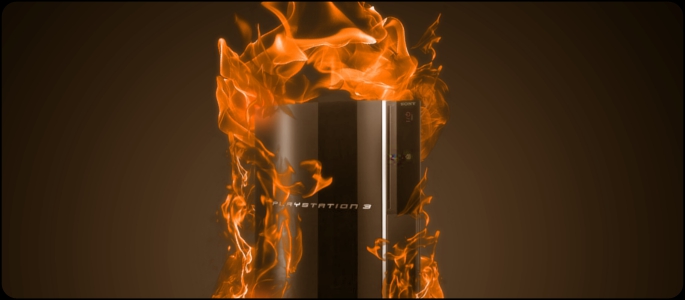
As our consoles are forced to do more and more each generation, we are seeing a decrease in their expected life expectancy. With growing costs and dependency, most consumers are distraught over the dreaded yellow light of death (YLoD). A yellow light that signifies a significant hardware failure, replacing the normal green power indicator on the ps3. Luckily for you, people have taken it upon themselves to figure out a potential fix, that could bring life back into your black and silver casket. Originally posted on our forums, user Gilksy created a step by step guide to assist his fellow gamers, only to have the information thought to be lost in the annuals of time. That is, until now.
Disclaimer: please be advised if your ps3 is still under warranty, stop reading and just send it in. The following repair is for faulty mother boards only, and will not repair power supply issues, or disc read errors. In following this guide, I do not guarantee you will fix your ps3, and by attempting this repair YOU are agreeing to take full responsibility for any loss of hardware due to damage caused by following this guide.
If your are reading this guide, then you are obviously in a difficult situation, or you are preparing for when you are in a tough spot. Either way, know that with a bit of work, hopefully you can get your PS3 up and running once more.
Tools Required:
Heat gun (temperature controlled preferably).
Isopropyl alcohol (acquire from chemist).
Vacuum cleaner or compressed air blower.
Phillips screw driver.
Flat blade screw driver or slotted torx bit.
Before we begin, see our guide on removing any disks that could be trapped inside your PS3 (certain models only).
STEP 1. Remove warranty sticker and rubber foot that’s positioned above hard drive bay. This will invalidate any warranty.
[For specific dismantling procedures for a 80GB PS3 or 40GB PS3 click the appropriate links]
STEP 2. Using a small flat blade screw driver or slotted torx bit, unscrew cover plate screw. See below

STEP 3. Slide cover plate towards the left until it stops and lift off.
STEP 4. Remove all Phillips screws marked noting size and position. See below.

STEP 5. Hinge case towards you until disengaged and then tilt towards the left. See below.

STEP 6. Remove ribbon cable by carefully lifting black part of connector (locking tab).

STEP 7. Lift/tilt blue ray drive towards the right whilst disconnecting power cable and the large ribbon (lift tab) underneath. See below.

STEP 8. Remove 5 screws and the earth wire screw on psu, and unplug connector plug. Before removal of psu unplug small bnc connector (black wire) and remove tape on side of psu, now lift off psu. See below.

STEP 9. Now remove the wide ribbon from connector (lift tab) unscrew the four screws on the Bluetooth board and remove. See below.
